Create a Beautiful Panorama in Photoshop with Easy Steps
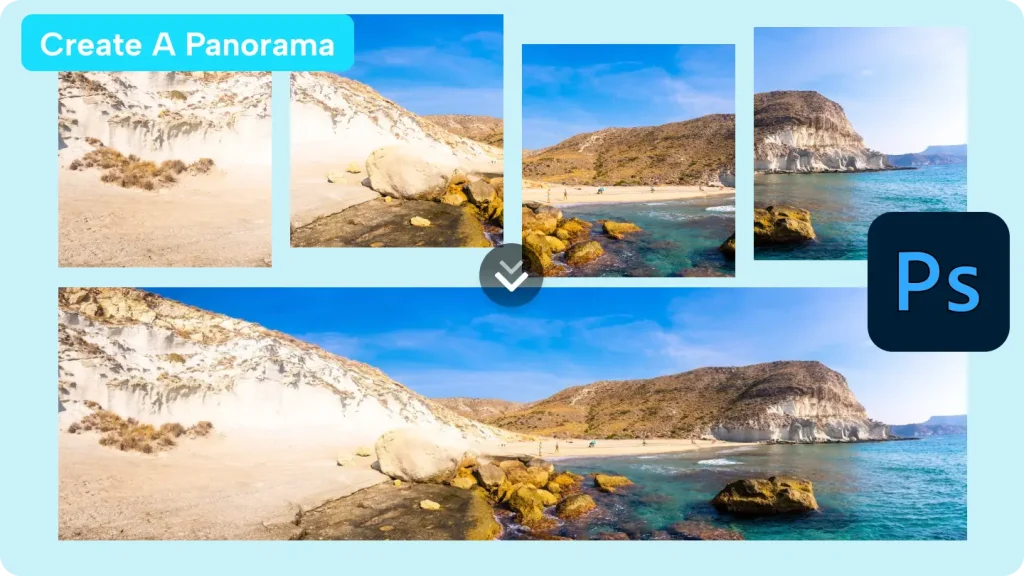
CapCut Panorama in Photoshop is a rewarding way to combine multiple images into a seamless, wide-angle masterpiece. Whether you’re merging breathtaking landscapes or expansive cityscapes, Photoshop’s intuitive tools make the process effortless and efficient.
What is a CapCut Panorama in Photoshop?
A panorama is a wide-angle representation of a scene, created by combining multiple images into one seamless, extended view. This technique is widely used in photography to capture vast landscapes, cityscapes, or any expansive subject that cannot fit into a single frame.

The advantages of using Photoshop to create panoramic images
Thanks to its robust features and precision, Photoshop stands out as one of the best tools for creating panoramic photos. Here are the advantages of creating a panorama in Photoshop:
- Seamless stitching: Photoshop’s advanced algorithms automatically align and blend images, ensuring a flawless result without visible lines or mismatches.
- Color and exposure adjustments: It provides tools to balance lighting, shadows, and tones across your images for a uniform look.
- Versatility: With Photoshop, you can experiment with different projection methods (perspective, spherical, or cylindrical) to suit your subject.
- Creative control: Beyond stitching, you can enhance your panorama with additional edits like filters, overlays, or color grading to make it truly unique.
Preparation for shooting CapCut Panorama in Photoshop
Proper preparation is key to achieving stunning results when creating a panorama in Photoshop. Paying close attention to detail while shooting ensures smooth stitching and a visually flawless outcome.
Choose the right equipment
- Camera: While any camera can capture panoramic shots, a DSLR or mirrorless camera with manual settings offers greater control over exposure and focus.
- Tripod: Stability is crucial for panoramic photography. A sturdy tripod helps maintain consistency in height and angle while panning across the scene. Look for one with a rotating head for smoother transitions.
How to shoot CapCut Panorama in Photoshop images
The shooting process determines the success of your panorama. Follow these essential tips for the best results:
- Photo overlap: Ensure each image overlaps by 20-30% with the next one. Overlap provides Photoshop with sufficient data to align and stitch the images seamlessly.
- Use a wide-angle lens: A wide-angle lens captures more of the scene in each frame, reducing the number of photos needed for the panorama. However, avoid extreme distortion, which can complicate stitching.
How to make a CapCut Panorama in Photoshop
- Launch Photoshop and select Photomerge
Start by launching Photoshop on your computer. To merge your images into a panorama, go to File > Automate > Photomerge.
- Choose Auto Layout
In the Photomerge dialog box, choose the Auto Layout option, which works well for most images. Photoshop automatically aligns and merges your selected photos into a single panoramic image.
- Choose your Source Files
In the Photomerge dialog box, under Source Files, you’ll see the Use menu. From there, select one of the following options:
Files: Choose this option if you wish to select each image to include in your panorama manually.
- Browse files
Next, you’ll need to specify the images to make a panorama in Photoshop. To do this, click the Browse button and navigate to either individual image files or a folder containing the photos you want to include. If the images you wish to use are already open in Photoshop, simply click
- Remove Distortion
Once your images are loaded and aligned, it’s time to edit 360-degree photos in Photoshop to address any distortion. Navigate to Filter > Lens Correction and adjust the slider for Remove Distortion to correct any barrel or pincushion distortion.
Making panoramic images in Photoshop is a very professional choice. If you want to make panoramic videos look more dynamic, CapCut plays an important role in this regard.
How to make your CapCut Panorama in Photoshop dynamic
CapCut is an easy-to-use video editing tool that lets you take panorama photos and add dynamic effects to create stunning video content. With CapCut, you can bring your panoramic images to life by incorporating various features such as smooth video transitions, captivating animations, and creative filters.
Start exploring CapCut today and elevate your panorama creations to new heights!
- Import panorama images
Start by launching CapCut and importing your panorama images. Click on the Import button to choose your panorama images, or drag and drop them into the workspace for a quick start.
- Edit panorama image video
Now, you can add text, filters, and music to the panorama image. To make the panorama image color more prominent, you can use Adjustment to adjust the color, lightness, or effects. You can also add transition effects to make the image seem moving.
- Export and share
After you’ve finished editing, export your video in your preferred format, Mp4 or MOV. CapCut provides various options for exporting your video, including resolution and bit rate, ensuring you get the highest quality output to share with friends, family, or social media.
Application of panoramic images
Panoramic images have various applications across various fields, adding depth and context to visual content. Here are some common uses:
- Landscape photography
Panoramic images are perfect for capturing sweeping views of nature. They allow photographers to showcase vast landscapes, from mountain ranges to seascapes, in a single image.
- Architecture and interior design
Panoramic images uniquely capture architectural structures and interior spaces, providing a comprehensive view that highlights both the design and the surrounding environment.
- Product campaigns
In marketing and advertising, panoramic images are used to highlight products in their full context, often adding a professional touch to product photography and campaigns.
- Historical site records
Panoramic photos are essential in documenting historical sites. They offer wide-angle perspectives that preserve the details of landmarks and important locations for archival and educational purposes.
Conclusion
In conclusion, creating a stunning panorama in Photoshop involves simple steps like importing, aligning your images, correcting distortion, and ensuring a smooth transition between photos. Key tips for creating a 360-degree panorama in Photoshop include using the Photomerge tool, maintaining unified exposure, and removing lens distortion for a flawless result.
FAQs
- Which camera mode is used to capture panorama photographs?
The camera mode used to capture panorama photographs is typically called “Panorama Mode.” This mode allows you to move the camera horizontally (or vertically) while automatically stitching together multiple shots to create a wide image, capturing a broader scene than a single photo would.
- What are the main differences between 360 panoramic images and 360 panoramic videos?
A 360 panorama in Photoshop refers to a static image that offers an interactive 360-degree view, while a 360 panoramic video is dynamic, allowing movement within the scene.
- How to fix “ghosting” when stitching panoramas in Photoshop?
To fix ghosting when creating and editing 360-degree photos in Photoshop, use layer masking and blending techniques. Align the images using Photomerge and mask out areas where ghosting occurs. Smoothly blend these areas to remove any unwanted duplicates for a cleaner result.
Download Link >>> https://capcut-crack.pro/